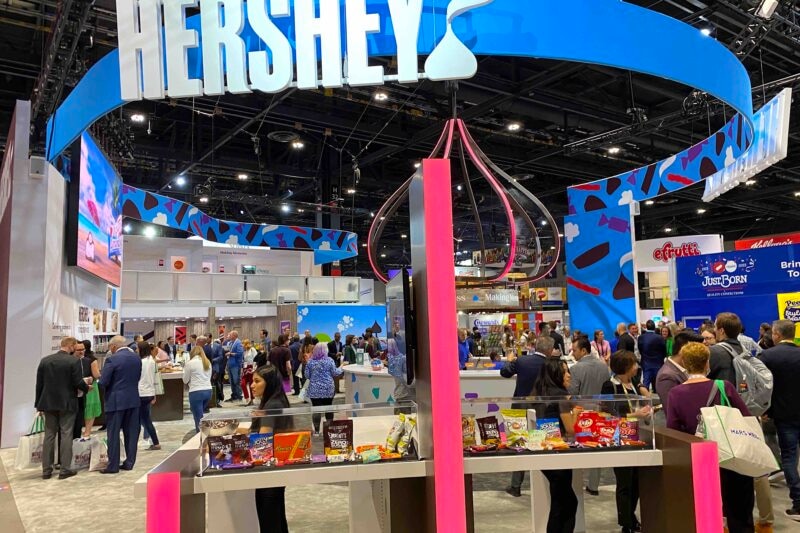
幸运飞艇-168幸运飞行艇开奖官网开奖记录历史查询 Announcing Second-Quarter Results
Listen to our second-quarter earnings results. Management remarks available Thursday, July 27 at 7 a.m. ET followed by a live Q&A session at 8:30 a.m. ET
Listen to our second-quarter earnings results. Management remarks available Thursday, July 27 at 7 a.m. ET followed by a live Q&A session at 8:30 a.m. ET

For 50 years, HERSHEY’S CHOCOLATE WORLD has welcomed visitors to experience their favorite brands in new and surprising ways while making treasured memories along the way.

The first-ever ad for Dot’s Homestyle Pretzels aims to introduce new consumers to the buttery, savory spindles, while letting devoted fans they’re not alone in their obsessive love for the snack.
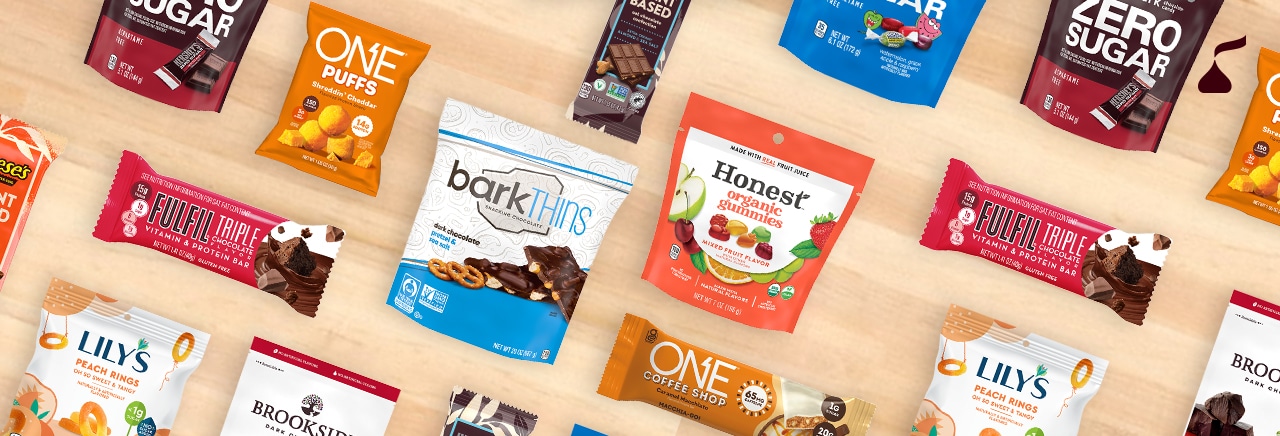
Hershey offers consumers a variety of snacking choices with its expanded sweet and salty better-for-you portfolio.
For 50 years, HERSHEY’S CHOCOLATE WORLD has welcomed visitors to experience their favorite brands in new and surprising ways while making treasured memories along the way.
The first-ever ad for Dot’s Homestyle Pretzels aims to introduce new consumers to the buttery, savory spindles, while letting devoted fans they’re not alone in their obsessive love for the snack.
Hershey offers consumers a variety of snacking choices with its expanded sweet and salty better-for-you portfolio.